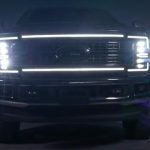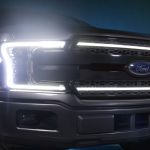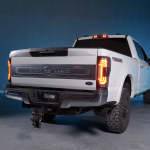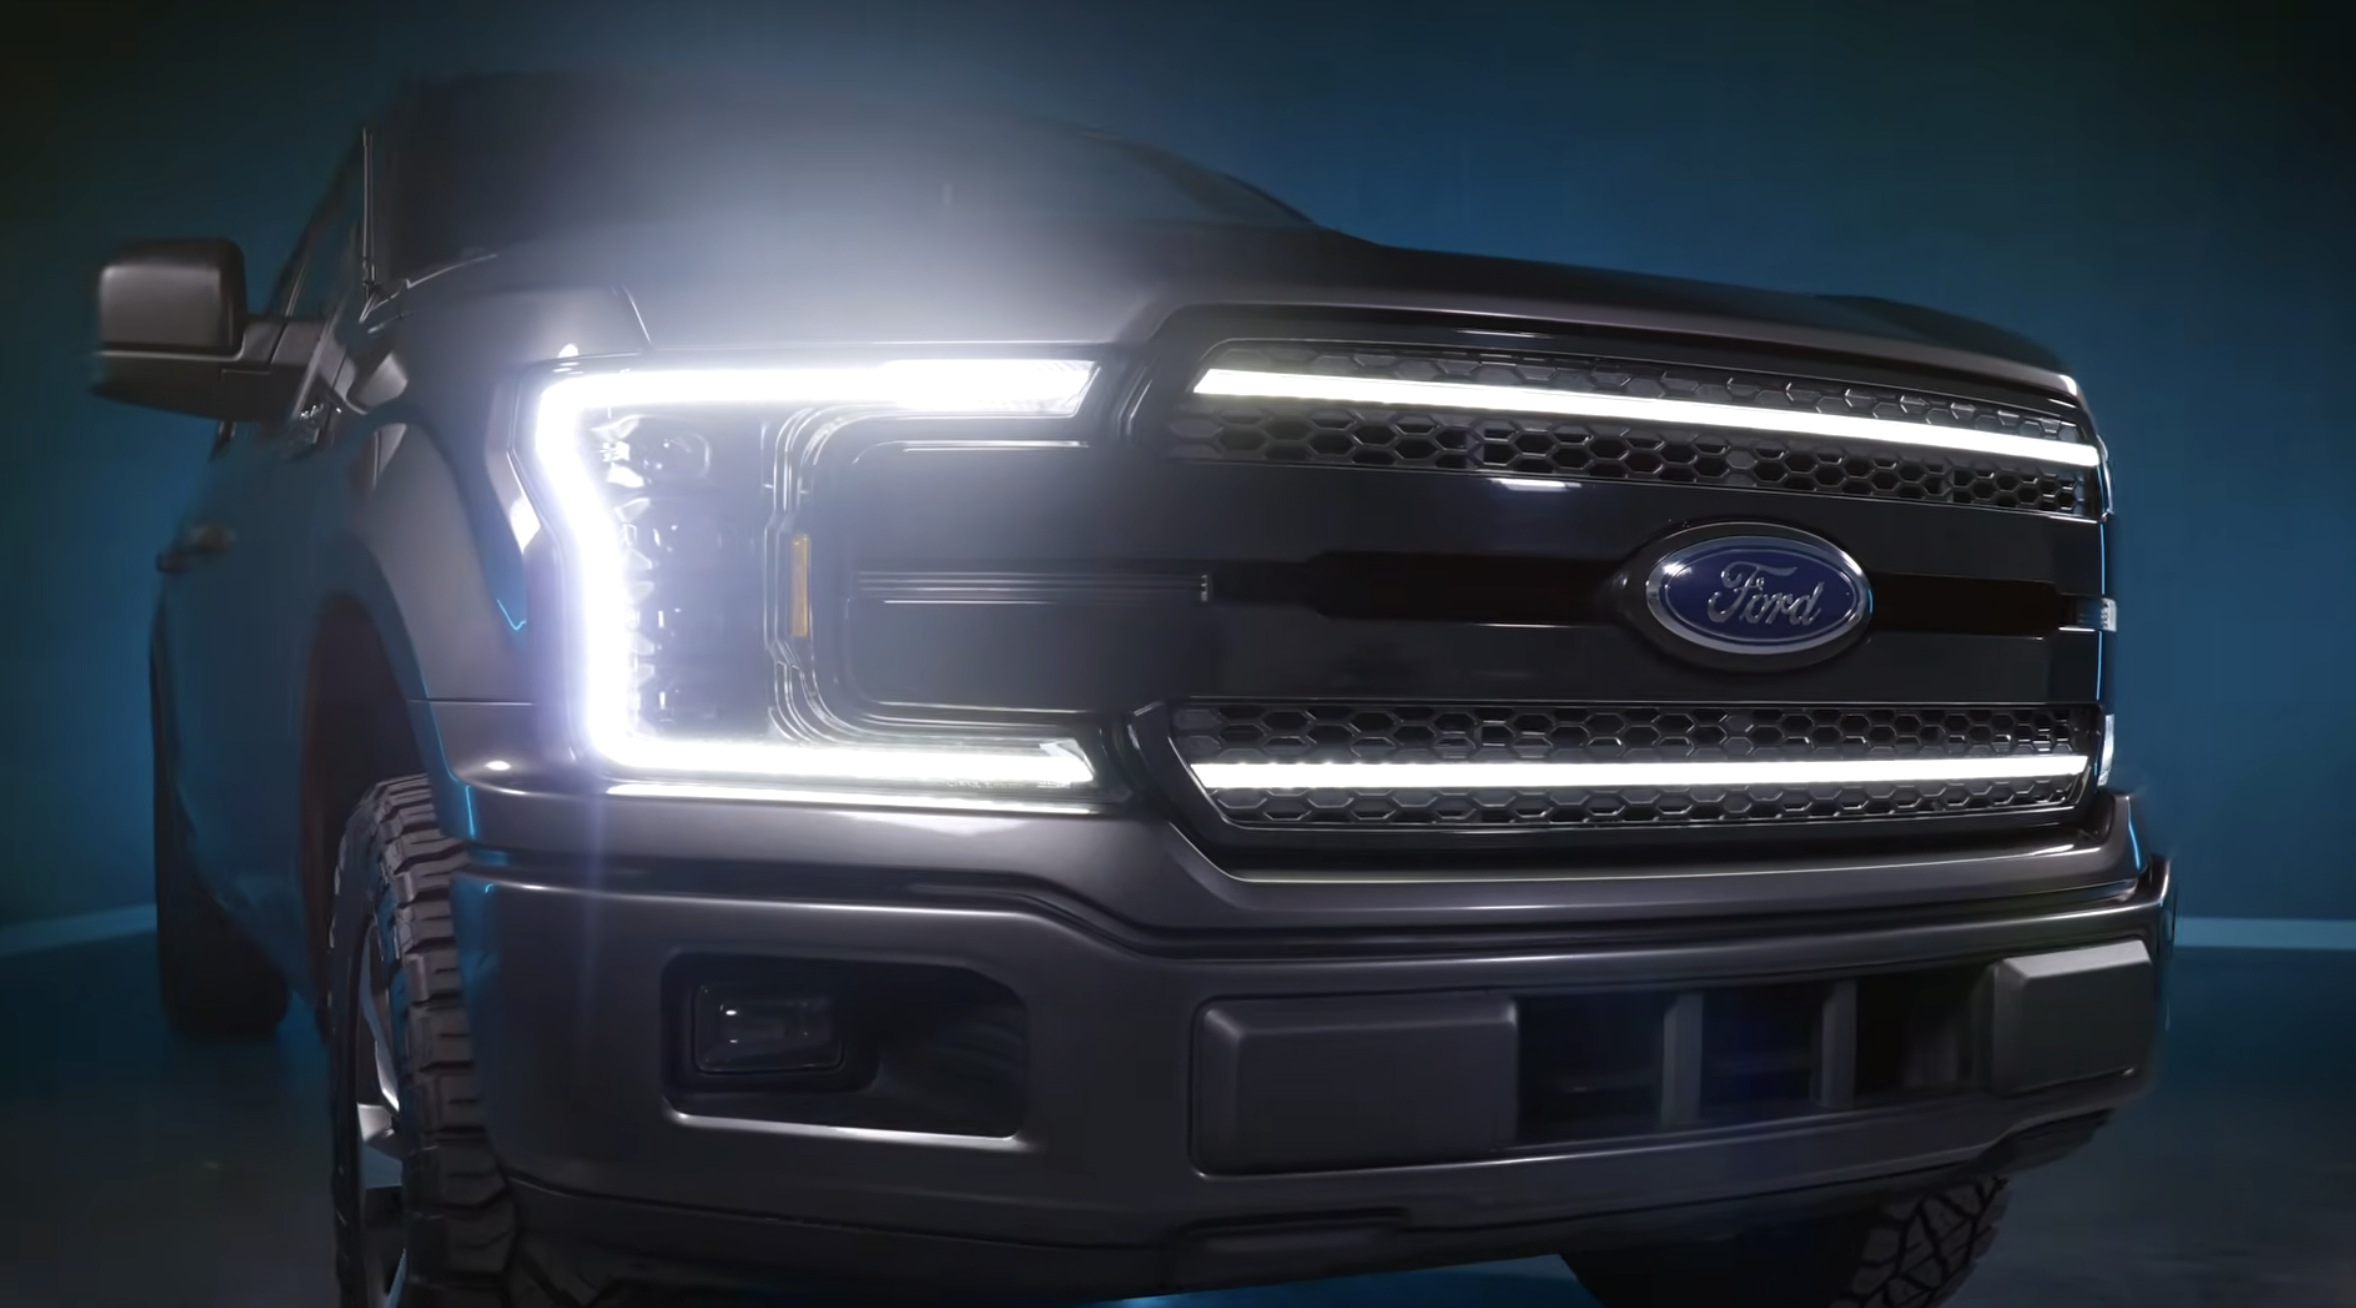
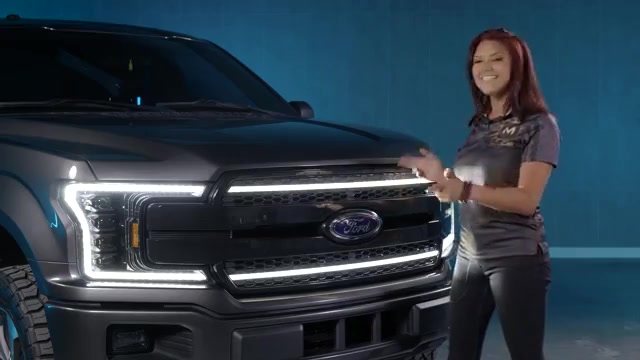
If you are hunting for that last piece to finish off a custom front end on your 2018-2020 Ford F-150, we think we have exactly what you are looking for. The Morimoto XBG LED Grille blends high visibility output with OEM style and a surprisingly easy install. We tested it, we installed it, and in this guide we will walk you through everything from the brightness behind the optics to each step of pulling the OEM grille and getting the new one in place. If you want a factory-plus look that actually lights up the road ahead, this is one of the brightest LED grilles out there for the F-150.
Why the Morimoto XBG LED Grille Stands Out
The thing that caught our attention first was the sheer output. This grille is unbeatably bright thanks to true automotive grade optics paired with Osram LEDs. That combination is what lets us call it one of the brightest LED grilles available for the F-150. It is not a gimmick strip tucked behind plastic. It is engineered to throw a clean, high visibility light bar across the front end while keeping that OEM style everyone loves on these trucks.
It is also worth noting up front what this product is and is not. The XBG grille functions strictly as a DRL light bar. It is not a full headlight or a turn signal replacement. If you want the headlights to match, you will want to pair this with the right lighting up front. We will cover compatibility a little later, but keep that expectation set: this is your daytime running light accent and front end upgrade, not a headlight swap.
Color Options and DRL Choices
One of our favorite parts of the XBG grille is how it is color coordinated to match your build. It comes in two variants. The chrome option is ready right out of the box, so you can install it as-is. The black option is unpainted plastic, which means it needs to be painted or wrapped to match your F-150 before install. Even if you want it to stay black, you will need to paint it black again, so plan for that step if you go the black route. That gives you full freedom to customize the front end however you want.
Then there are the DRL bars themselves. The dual intensity DRL bars are available in either white or amber LEDs. That matters because it ensures a perfect match for all Morimoto headlights or even your OE LED lights. If you already run a white theme up front, grab white. If your build leans into amber accents, the amber option keeps everything consistent. If you want to see how the DRLs line up with a headlight set, take a look at the Morimoto XB LED headlights for the F-150 so you can plan the color match before you order.
On top of the output and the color options, the whole system is designed, engineered, tested, and distributed by Morimoto here in the US. That backing comes with a 5 year warranty, which is the kind of support we want behind a front end upgrade that sees daily sun, rain, and road grime. If you want to browse other fitments and styles, the full lineup of Morimoto XBG LED grilles is a good place to start.
Tools You Will Need
Before we dug into the install, we laid out everything we needed. The tool list is simple and does not require anything exotic. You will want pry tools of your choice or a flathead screwdriver, a ratchet (mechanical or handheld), plus 7mm, 8mm, and 10mm sockets. Two extensions help reach the deeper nuts. Round it out with a plastic pry tool, a Phillips head, needle nose pliers, cutters, and locking pliers.
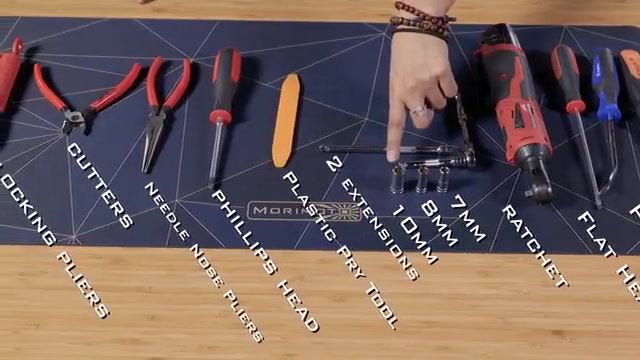
A simple tool set including sockets, pry tools, and pliers handles the full install.
The best news here is that this is a fully plug-and-play system. You are not cutting into factory wiring in a destructive way, and the included harness handles the electrical side cleanly. Let us get into the actual steps.
Step-by-Step Install Guide
Step 1: Remove the Top Clips and Upper Trim
Pop the hood first. Then start removing the 12 plastic clips across the top of your grille using a pry tool. Work your way across from one side of the truck to the other. Keep in mind you are not removing the nodes beside the clips, those stay in place for now. Once all 12 are out, lift up on the plastic trim and set it aside.
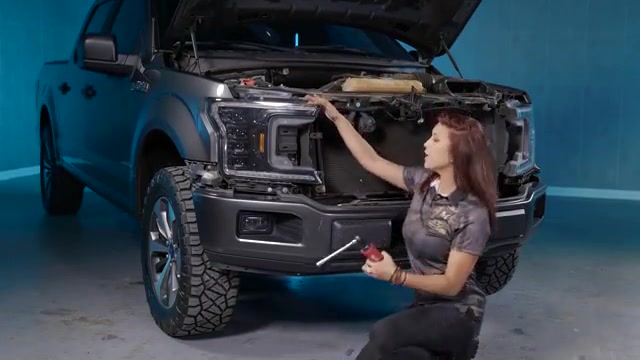
Move to each fender well and remove the two 7mm bolts. With those out, pry up on the side to release that trim piece. Do the same on both sides. Then head back to the front and remove the upper trim piece of the bumper, which has six clips. Pull it up and toward you, and use a pry tool or pick if any clips fight you. This piece can fall once released, so grab a friend to help here.
Step 2: Remove the OEM Grille
With a 10mm socket (it was 8mm on our truck, so check yours), remove the four bolts across the top of the grille. Disconnect the connector attached to the grille by prying up on the connector wire. If your truck has a front camera, release the clamp holding the plastic hose and disconnect the two electrical connectors. Then, using an extension and a 10mm socket, locate and remove the 110mm bolt beside the grille on each side.
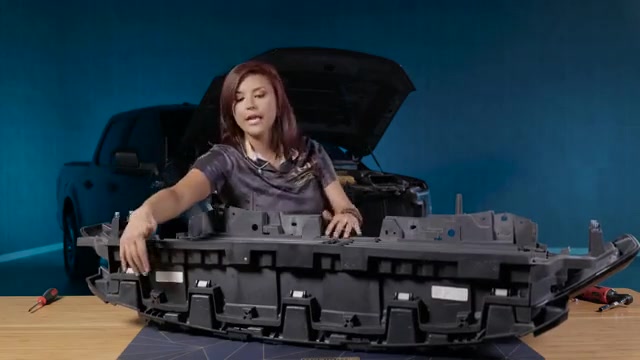
Now take a pry tool to the back side of the grille and release it from the locking clips, doing both sides. Then lift the grille up and off the truck and gently set it aside.
Step 3: Remove the Passenger Headlight
Whether you have the Morimoto XB or the OEM headlights, they come out the same way. Remove the single 8mm bolt, then the three 10mm bolts underneath the headlight. Pry down on the air vent on each side of the headlights with a plastic pry tool. The nice part is you only need to uninstall the passenger headlight. Remove the last two 10mm bolts holding it, then gently tug it toward you to release the clips and disconnect the connectors.
Step 4: Wire the Harness
With the fuse box exposed, install the fuse tap harness if you do not already have one. It has a fuse tap on one side and a connector on the other. Use needle nose pliers to pull fuse number 36, set the OEM fuse aside, and place the fuse tap where it was. Run the connector harness down to the passenger headlight, then put the lid back on your fuse box.
Now for the main harness. This is where compatibility matters. If you have OEM halogen reflector headlights, you use the smaller connector. If you have OEM LED (or Morimoto XB) headlights, you use the bigger connector with multiple pins. Connect it into the OEM harness, then route the rest up toward the XBG grille where it will connect to the DRL harness once the grille is on the truck. Because this works with both Morimoto XB headlights and OEM LED headlights through one harness, and OEM halogen reflectors through a separate included harness, most F-150 owners are covered right out of the box.
Step 5: Transfer OEM Hardware to the XBG Grille
Before moving to the new grille, strip the reusable hardware off the OEM one. Remove the five plastic tabs on the front, flip the grille over, and remove the eight plastic push tabs on the bottom. Then remove the four inner 10mm bolts (not the outer ones). Some models have a 7mm bolt in the center, ours did not. Release the five lock tabs at the base, disconnect any camera or washer system if equipped, and separate the grille by lifting from the core, not the fragile fins.
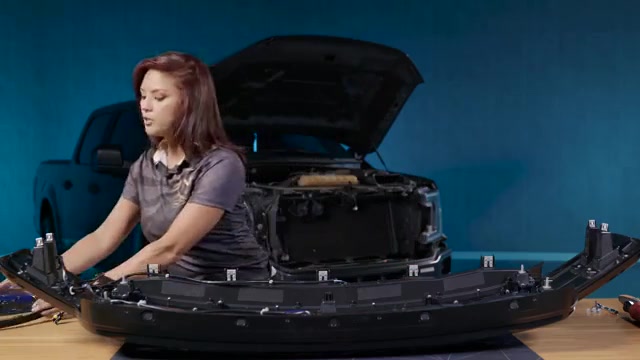
Transfer the five metal clips over to the Morimoto grille by prying them up and pressing them into place. Move the Ford emblem over using hand tools only (three 10mm bolts) so you do not crack any plastic. Transfer the four studs and the four pieces of hardware as well. Refer to the install guide if your grille hardware looks different, since some F-150 grilles vary.
Step 6: Assemble and Reinstall the New Grille
Install the four studs back in their original positions, then line up and press down the five metal clips. Place the Morimoto bezel that comes with the kit into the grooves until you hear it clip, then install the OEM Ford emblem and secure it with the 10mm OEM nuts. Do not over tighten, since you can strip or damage the plastic. Reinstall the active flaps from your OEM grille using the four nuts, lining them up to the five black tabs at the bottom. Then reinstall the plastic push tabs: the five on top and the 12 along the bottom.
Step 7: Reconnect and Finish
Reinstall the passenger headlight and plug it back in. On Morimoto XB headlights, take the dummy plug off the harness and plug in the DRL harness. With the grille back in place, connect the DRL harness that you routed earlier. Keep the XBG grille harness exposed during reinstall so you can connect it with ease.

Pairing the XBG Grille With the Rest of Your Front End
Because the XBG grille is a DRL accent and not a headlight, it really shines when matched to the right lighting setup. If you are planning a full front end refresh, consider the complete 18-20 F-150 lighting upgrade kit so every light source works together. We also recommend reading through Headlight Revolution’s 18-20 F-150 XB LED headlight listing and the Front LED Upgrade Kit for the 18-20 F-150 at The Retrofit Source to compare options and confirm the look you want before you commit.
Final Thoughts
After installing it ourselves, we think the Morimoto XBG LED Grille is one of the cleanest ways to finish off a custom F-150 front end. The Osram LEDs and automotive grade optics deliver serious brightness, the color options let you match chrome or go fully custom, and the white or amber DRL choice keeps everything consistent with your headlights. Add in the plug-and-play harness, the US-based engineering, and the 5 year warranty, and it is an easy recommendation for anyone who wants factory fit with an unmistakable upgrade.
Frequently Asked Questions
What makes the Morimoto XBG grille so bright?
It uses true automotive grade optics paired with Osram LEDs, making it one of the brightest LED grilles available for the F-150.
What color options are available for the XBG grille?
It comes in two variants: a chrome option that is ready to install right out of the box, and a black option that is unpainted plastic requiring paint or wrap before install.
What DRL color choices does the grille offer?
The dual intensity DRL bars are available in either white or amber LEDs so they can match Morimoto headlights or OE LED lights.
Is the XBG grille compatible with OEM F-150 headlights?
Yes. One harness works with Morimoto XB headlights and OEM LED headlights, while a different included harness is used if the truck has OEM halogen reflector headlights.
What warranty comes with the Morimoto XBG grille?
The grille is designed, engineered, tested, and distributed by Morimoto in the US and includes a 5 year warranty.
Meet the Experts Behind Morimoto

Jimmy Nguyen – Engineering Manager
Jimmy leads engineering at Morimoto, bringing experience across customer support, supplier management, design engineering, and validation testing. His work ensures Morimoto lighting systems are engineered for real-world reliability and long-term performance.

Mike Hicks – Quality Control Manager
Mike oversees quality assurance at Morimoto, with a background spanning returns testing, RMA analysis, vendor quality control, and manufacturer scorecards. His focus is continuous improvement and accountability across the product lifecycle.