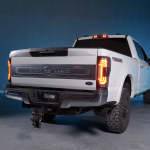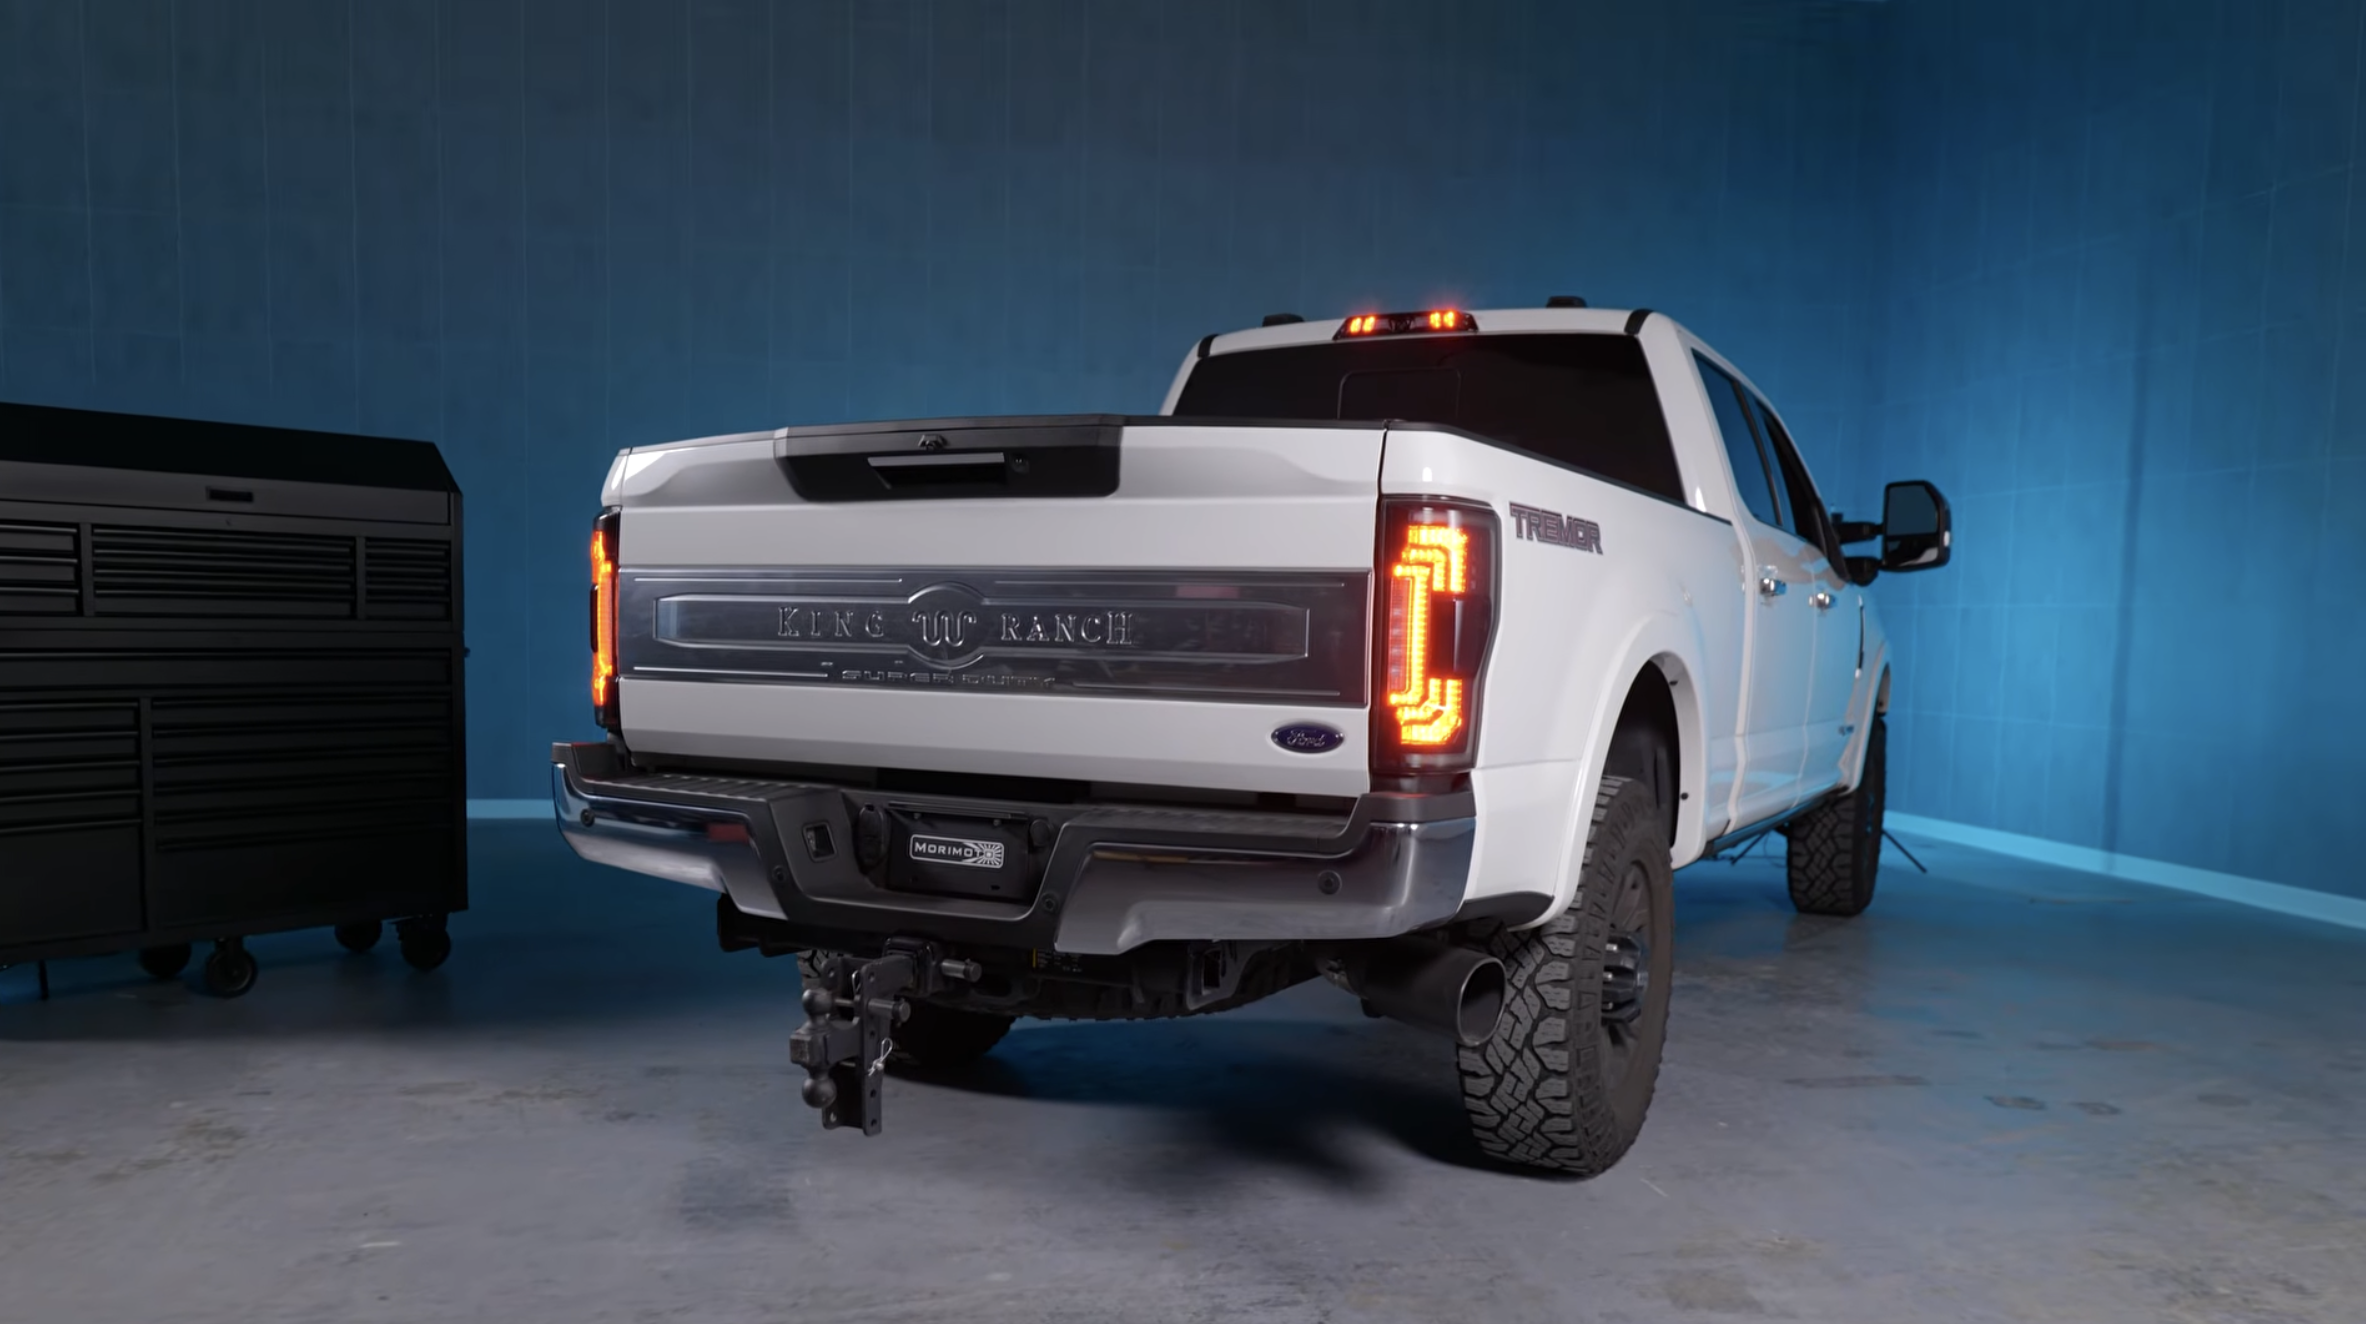
If you own a 2017-2022 Ford Super Duty and you have been staring at those dated OEM tail lights, we have a serious upgrade for you. Today we are covering the Morimoto XB LED tail lights for the Super Duty, and we spent the day testing and installing them so we could walk you through exactly what to expect. These are a full plug and play LED system with no bulbs and no maintenance, and they solve one of the biggest headaches in the aftermarket tail light world: BLIS compatibility. Whether your truck runs the halogen setup or the factory LED tail lights, we have you covered here.
What the Morimoto XB Tail Lights Are All About
Before we jump into the install, let us talk about what these tail lights actually are. Your Super Duty came from the factory with either the halogen style tail lights or the full LED system. The Morimoto XB tail lights replace either one with a complete LED system. No bulbs to swap, no maintenance, just a clean plug and play upgrade that brings your truck into the modern era.
The XB tail lights come in two color options, and you can grab whichever suits your build. There is a smoked version and a red version, and both share identical features. The only difference between them is the color of the lens. If you want the classic look, the 17-22 Ford Super Duty XB LED Tail Lights in Red keep things familiar, while the smoked-lens version of the XB tail lights gives you a more aggressive, blacked-out appearance.
One of the biggest wins here is BLIS compatibility. It does not matter if your truck has the BLIS (Blind Spot Information System) module or not, these tail lights will work with it. That is something that is extremely hard to find in aftermarket tail lights, but we pulled it off for you guys. There is a catch we will explain later, which is that you do have to transfer your BLIS module from the OEM tail light, but the point is that the compatibility is built in.
What Comes in the Kit
When you order your XB tail lights, all the components you need are included regardless of your year, make, and model. Everything is in the box so you are not scrambling for extra parts. Let us break down what you get.
First, the kit comes with an adapter harness. This is what you use to plug your new tail light into your OEM harness. Then you get two resistors: one 3.75 ohm resistor and one 7.5 ohm resistor. Depending on your year and model, you will use one, both, or neither of these. If you use both resistors, you will also use the step down standoff hardware included in the kit. If you are only using one resistor, you just use the smaller screws with the little washers.
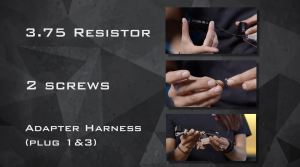
The harness itself is labeled one, two, three, and four, with a spot on the very bottom for connecting your resistors. Keep in mind there are dummy plugs on the top of the harness. These help prevent water intrusion in case you do not use a particular plug, so leave those in place if you are not using that connection. It is a small detail, but it is the kind of thing that keeps your install clean and reliable over the long haul.
Which Components You Need for Your Truck
Here is where it pays to know your exact configuration. We tested each variation so you know what to expect based on whether you have OEM LED, halogen with BLIS, or halogen without BLIS.
2017-2019 Halogen Without BLIS
You will use one 3.75 ohm resistor on the red wire, the two screws, and the adapter harness using plug one and plug three.
2017-2019 Halogen With BLIS
You will use the 3.75 ohm resistor on the red wire, two screws, and the adapter harness using plugs one, three, and four.
2017-2019 OEM LED
This is the easiest install, but there is one thing to double check. Remove the bracket off the back side of your XB tail light (four seven-millimeter screws), then locate the purple to red wire. On some units it comes connected purple to yellow, so just disconnect that and connect the purple to red. Then transfer your BLIS module into the Morimoto bracket, reinstall the bracket, and you are ready to go with no resistors needed.
2020-2022 Halogen Without BLIS
You will use both resistors (the 7.5 ohm and the 3.75 ohm), both standoff screws and the standard smaller screws, and the adapter harness using plugs one, two, and three.
2020-2022 Halogen With BLIS
You will use both resistors again, all the hardware including the standoff screws and standard screws, and the adapter harness using connectors one, three, and four.
2020-2022 OEM LED
Just check for the purple to yellow wire inside the tail light and make sure it is connected. You will not need any resistors or the harness, it is a full plug and play system. Transfer your BLIS module, reinstall the bracket, and you are done.
The Features We Loved
Now for the good part. As we mentioned, they come in the red version or the smoked version, both with identical features and a different color from one another. They are full LED systems and they carry a 5-Year warranty, which is a nice safety net for a lighting product that lives outside in the weather year round.
Both tail lights have a beautiful turn signal. Inside there is a C-shaped turn signal that is extremely bright with a standard blink pattern. The parking light also gets a very nice upgraded modern look. When we compared these against the non-LED OEM tail lights, the XB tail lights literally blow them out of the water.
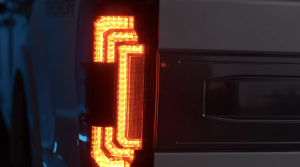
The reverse lighting is another standout. These outperform the OEM reverse lights like no other, so when you are backing up to a wall you can immediately tell the extreme difference. If you want a deeper third-party perspective on the lights, check out Headlight Revolution’s write-up on these new taillights, which lines up with what we saw in our own testing.
Installing the XB Tail Lights
Now that you know all the components, it is time for the install. Drop your tailgate and remove the two eight-millimeter screws behind it. There are two plastic tabs on the side of the tail light, so pull out and then forward to release it. With the tail light free, disconnect your OEM harness and set the old light aside on a soft surface such as the Morimoto mat.
Harvesting the BLIS Module
From here on out, we are not using any power tools. You are working with plastic and metal, and power tools can fatigue the plastic and break something, so keep that in mind. Our test truck was running the OEM LED tail lights with the BLIS system already installed. The XB tail lights are BLIS compatible, but they do not come with the BLIS system itself, so you have to harvest the module out of your OEM tail light.
Start by removing the three seven-millimeter bolts on the back bracket of your BLIS system. Gently pull the BLIS module straight up and out. Remove the two Phillips screws, take out the single Phillips screw, and wedge it up and out of the two little bracket holes before disconnecting it from the harness.

Installing the BLIS Module Into the XB Bracket
Now work with the XB tail light. Using the same seven-millimeter tool, remove the four screws on the back side and pull up on the bracket to reveal where the BLIS module goes. There are two T20 screws to remove and set aside. Connect your BLIS module to the Morimoto harness, then line it up into the two tabs on the back side of the bracket. Make sure none of the wire is in the way and that the module lays nice and flat against the bracket.
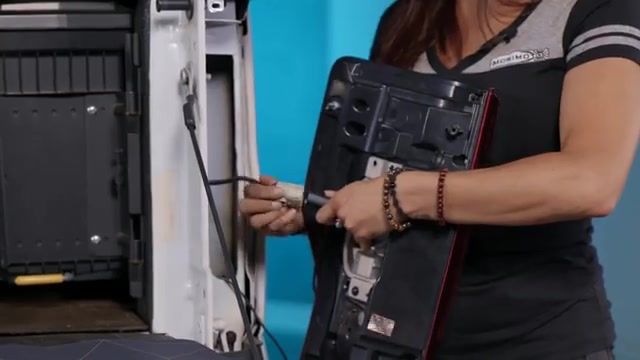
Line the two T20 screws back in and tighten them down. Route the bracket and BLIS module back into the tail light, making sure none of the wires interfere. Push down slightly with your fingertips and reinstall the screws. Do not over-tighten these, because you do not want to break the black plastic on the back side of the housing. Then plug into your OEM harness, line up the two metal tabs, slide the tail light in, hold it so it does not fall out, and replace the two outer screws. Just like that, the driver side is installed.
The Optional Boost Bar Reverse Light
For the passenger side, we have a special surprise: the Morimoto Boost Bar. Transfer your OEM BLIS module into the passenger XB tail light first, but do not install the tail light just yet if you are adding the Boost Bar. The Boost Bar is a reverse light bar that connects near your license plate, and with the XB tail lights it integrates as a full plug and play install thanks to a piggyback tail built right into the XB housing.
To install it, remove the two screws on your license plate using a flat head or eight-millimeter socket. There is a small wire on the back of the Boost Bar, so mark that spot and drill a hole so you can tuck the wire behind the bumper for a clean install. Keep in mind there is a metal plate behind this area, so do not drill all the way through the metal. Run the wire through the hole (you will need to pull back on the plastic trim slightly), route it down between the bumper, and pull the grommet down to the Boost Bar. Reinstall the license plate screws and route the wiring up to the passenger tail light.
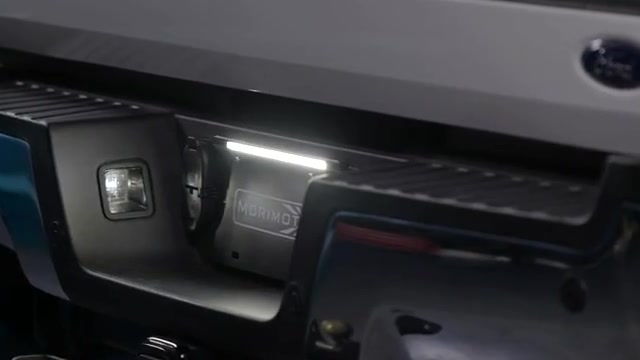
The Boost Bar is the perfect upgrade for anyone who wants that little bit of extra light when reversing. The XB tail lights are extremely bright on their own, but this adds that extra boost. If you do not have the XB tail lights, that is okay too, because the kit includes an adapter harness and a fuse tap for your OEM setup. You can grab it as the Plug-n-Play Backup Light Boost Bar if you want to add it to your build.
Rounding Out the Build
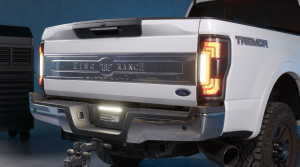
If you are upgrading the rear of your Super Duty, it is worth thinking about the front too. On the 2020-2022 trucks you can pair these tail lights with a matched front-end setup, and we walk through that in our guide on the Morimoto XB Evo headlight upgrade for 2020-2022 Super Duty. For folks who want everything in one shot, there is also a 20-22 Ford F-350 headlight and tail light combo kit that bundles the front and rear together for a cohesive look.
After spending the day with these, we are confident the XB tail lights are one of the cleanest, most complete rear lighting upgrades available for the Super Duty. The BLIS compatibility, the plug and play harness, the color options, and the optional Boost Bar make this a package that solves problems instead of creating them. Add in the 5-Year warranty and you have a mod that looks great and holds up.
Frequently Asked Questions
Are the Morimoto XB tail lights compatible with the BLIS system?
Yes. The XB tail lights are BLIS compatible, but the BLIS module must be transferred from the OEM tail light into the new Morimoto bracket during install.
What color options are available for the XB tail lights?
The XB tail lights come in two color options: a Smoked version and a Red version. Both share the same features and only differ in color.
Do I need resistors to install these tail lights?
It depends on your truck’s configuration. Halogen models use a 3.75 ohm resistor, a 7.5 ohm resistor, or both depending on year and BLIS setup, while 2017-2019 and 2020-2022 OEM LED trucks are plug and play with no resistors needed.
What is the Morimoto Boost Bar?
The Boost Bar is an optional reverse light bar that mounts near the license plate and connects to the XB tail light via a built in piggyback harness for a plug and play brighter reverse light.
What warranty comes with the XB tail lights?
The Morimoto XB tail lights include a 5 year warranty.
Meet the Experts Behind Morimoto

Jimmy Nguyen – Engineering Manager
Jimmy leads engineering at Morimoto, bringing experience across customer support, supplier management, design engineering, and validation testing. His work ensures Morimoto lighting systems are engineered for real-world reliability and long-term performance.

Mike Hicks – Quality Control Manager
Mike oversees quality assurance at Morimoto, with a background spanning returns testing, RMA analysis, vendor quality control, and manufacturer scorecards. His focus is continuous improvement and accountability across the product lifecycle.