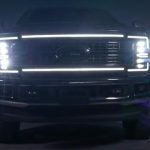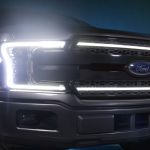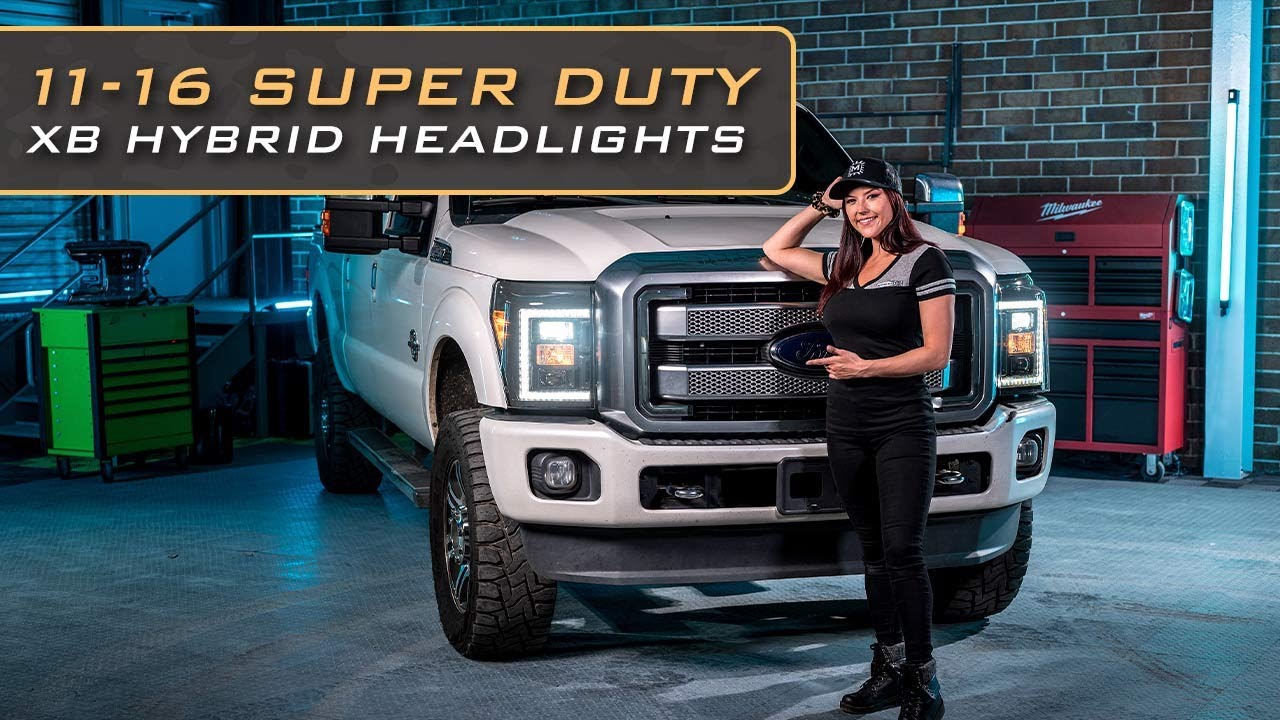
If you drive a 2011 to 2016 Ford Super Duty and you have been squinting through those dim factory halogens on a dark backroad, we have good news. In this write-up we walk through the Morimoto XB Hybrid LED headlights, the entry level LED option for your truck, and we show you exactly how they performed on our lux meter along with a full step by step install. We tested these lights, we pulled them apart, and we installed them ourselves, so everything below comes straight from time spent with the product on the bench and on the truck. If you have been shopping for Ford Super Duty aftermarket headlights and want real numbers instead of marketing fluff, this one is for you.
What the Morimoto XB Hybrid Headlights Are
The Morimoto XB Hybrid headlights are your entry level option for the 2011 to 2016 Super Duty. That entry level positioning matters, because it means you get a serious lighting upgrade without stepping all the way up to the premium tiers. The whole headlight housing is fully LED except for the turn signal. That single exception is where you reuse the incandescent bulb from your OEM headlight, transferring it over into the new hybrid housing. Everything else in the light is running LED technology.
When you look at how the projectors are laid out, the low beam projector sits on top. When you switch over to the high beam, the bottom projector fires on in addition to the low beam. That gives you a real punch of light when you need it, and we saw exactly how much punch when we ran the meter (more on that below). If you want to see the exact assembly we installed, it is listed as the Morimoto XB LED Headlights for 11-16 Super Duty on our site.
The DRL Feature Nobody Expects at This Tier
The feature we were most excited to point out is the daytime running light. A DRL is not something you commonly see on an entry level headlight, so having it here is a genuine bonus. It adds a clean, finished look to the front of your Super Duty during the day. Even better, when you turn the headlights on, the DRLs dim down by 50 percent. That is a thoughtful touch that keeps the front end looking sharp without the running lights competing against your low beams at night.
Details That Round Out the Housing
Beyond the projectors and the DRL, the side markers in these headlights are fully LED as well. When you look inside the housing, you will notice a dark gray finish, which is a look that carries across the hybrid headlight family. That interior finish gives the lights a modern, custom appearance that dresses up the whole front of the truck. For the turn signal, you simply swap the incandescent bulb out of your OEM headlight and drop it into the XB Hybrid. If you would rather run an LED bulb in that turn signal spot, there are upgrade bulb options in the Morimoto lineup you can browse separately.
Lux Meter Testing: Stock vs. XB Hybrid
Talk is cheap, so we put both the factory lights and the XB Hybrids in front of a digital lux meter. A lux meter measures the actual usable brightness of light at a specific point, which is a far more honest measure than raw lumens on a spec sheet. We used the stock numbers as our benchmark, then repeated the exact same test with the XB Hybrids.
Here is how the factory halogens landed. Stock halogen low beams came in at 290 maximum lux. Flip on the stock high beams and you get 450 maximum lux. Those are the numbers you have been living with if your Super Duty is still wearing its original headlights.
Now for the XB Hybrids. On low beam, they measured 890 maximum lux, which is a massive jump over the 290 you get from the halogen low beam. When we switched to high beam, the meter read a staggering 2002 maximum lux. That high beam figure makes these one of the brightest headlights you will find for the 2011 to 2016 Super Duty. Going from 450 to 2002 max lux on high beam is the kind of difference you feel immediately the first night you drive with them.
If you want to compare notes with other retailers carrying this exact assembly, you can also find it as Headlight Revolution’s XB Hybrid listing. And if you would rather run an amber daytime running light look, there is an amber DRL version at The Retrofit Source to consider.
Tools You Need Before You Start
Before we jumped into the install, we gathered everything on the bench so the job would go smoothly. Here is the short list of tools you will want:
- A 10 millimeter socket with a quarter inch extension
- A pick or a flathead screwdriver
- A ratchet of your choice, either electric or by hand
That is it. This is a very approachable install, and nothing here requires specialty gear. If you can turn a wrench and follow along, you can knock this out in your own driveway.
Step by Step Install Guide
Below is the exact process we followed on the truck, broken down into clear steps. Take your time on the grille and the wiring and the rest falls into place easily.
Step 1: Prop the Hood and Remove the Grille
First things first, get your hood propped open. Then start removing the bolts on the grille. There are four 10 millimeter bolts on the top side of the grille that need to come out. After those are removed, there are two metal clips at the base of the grille. Use your pick or flathead to release those clips, then set the grille aside so it is out of your way.
Step 2: Expose and Remove the Headlight Bolts
Pull back the black material to expose the two inner headlight bolts, and remove those with your 10 millimeter socket. Next, remove the 10 millimeter bolt at the base of the headlight, using your extension and socket to reach it. Then remove the last 10 millimeter bolt at the very top of the headlight.
Step 3: Remove the Headlight and Disconnect
Now you can gently remove the headlight and start disconnecting the three connectors on the back. Go ahead and remove your OEM turn signal bulb and set it aside, because you will be reusing it in the new housing. Once that is done, repeat the exact same process on the passenger side headlight so both are out.
Step 4: Install the Morimoto DRL Harness
With both headlights removed, it is time to install the Morimoto DRL harness. Remove the 10 amp fuse and replace it with the fuse tap included in the harness. Run the shorter portion of the harness out to the driver side headlight and the longer portion over to the passenger side. You can route the harness however you please, just make sure it is secured and kept away from anything that could damage it.
Step 5: Transfer the Turn Signal Bulb and Reconnect
Take your OEM incandescent bulb and install it into the turn signal spot on your new Morimoto headlight, then connect it to your OEM harness. After that, connect the three remaining connectors so the housing is fully wired in.
Step 6: Reinstall and Test
Line up the mounting tab, push the headlight forward, and set it into place. Reinstall the four 10 millimeter bolts and make sure the headlight is nice and secure. Before you button everything back up, test out all the functions to confirm the low beams, high beams, turn signals, side markers, and DRLs are all working correctly. Once you confirm everything is good, reinstall the grille and you are done.
That really is all there is to it. Your Super Duty has been upgraded to the Morimoto XB Hybrid headlights. If you own a later truck, we also put together Morimoto’s install walkthrough for the new XB Evo Super Duty lights that follows the same easy DIY approach.
Should You Bundle or Buy the Headlights Alone?
For a lot of owners, the XB Hybrid headlights are the perfect standalone upgrade. They deliver that huge jump in usable brightness, add a DRL you would not expect at this tier, and clean up the front of the truck with the dark gray interior finish. If you want your rear lighting to match the fresh look up front, take a look at the XB headlight and tail light combo bundle, which pairs the front and rear together in one shot.
And if you are still weighing which tier is right for you, or you want to see how the Hybrid compares to the higher output options, browse the full XB LED and Hybrid headlight lineup. Whether you land on the entry level Hybrid or step up, you are getting a plug and play upgrade that transforms how your Super Duty sees the road.
Final Thoughts
After testing and installing these ourselves, the XB Hybrid earns its spot as the go-to entry level pick for the 2011 to 2016 Super Duty. The numbers do the talking: 890 max lux on low beam versus 290 stock, and 2002 max lux on high beam versus 450 stock. Add in the DRL feature, the fully LED side markers, and a straightforward install with just a handful of tools, and it is easy to see why these are such a popular choice for Ford Super Duty aftermarket headlights. Type in your year, make, and model on our website to see everything else we have in store for your truck.
Frequently Asked Questions
What years of Ford Super Duty fit the Morimoto XB Hybrid headlights?
These headlights are built for the 2011 to 2016 Ford Super Duty and are described in the video as the entry level headlight option for that generation.
Are the Morimoto XB Hybrid headlights fully LED?
The housing is fully LED except for the turn signal, which uses the OEM incandescent bulb transferred over from the factory headlight, per the transcript.
Do these headlights have a daytime running light feature?
Yes, the video states these headlights include a DRL function, which is called out as an uncommon feature for an entry level headlight, and the DRLs dim by 50 percent once the headlights are turned on.
How much brighter are the XB Hybrid headlights compared to stock?
Using a digital lux meter, stock halogen low beams measured 290 max lux and stock high beams measured 450 max lux, while the XB Hybrid low beam measured 890 max lux and high beam measured 2002 max lux.
What tools are needed to install the Morimoto XB Hybrid Super Duty headlights?
The video lists a 10 millimeter socket with a quarter inch extension, a pick or flathead screwdriver, and a ratchet, either electric or by hand.
Meet the Experts Behind Morimoto

Jimmy Nguyen – Engineering Manager
Jimmy leads engineering at Morimoto, bringing experience across customer support, supplier management, design engineering, and validation testing. His work ensures Morimoto lighting systems are engineered for real-world reliability and long-term performance.

Mike Hicks – Quality Control Manager
Mike oversees quality assurance at Morimoto, with a background spanning returns testing, RMA analysis, vendor quality control, and manufacturer scorecards. His focus is continuous improvement and accountability across the product lifecycle.